Getting Started

Phogit is on the App Store for iPhone and iPad (iOS 27 or later).

These steps take you from a fresh install to your first pushed commit. Each one links to the guide page with the details.
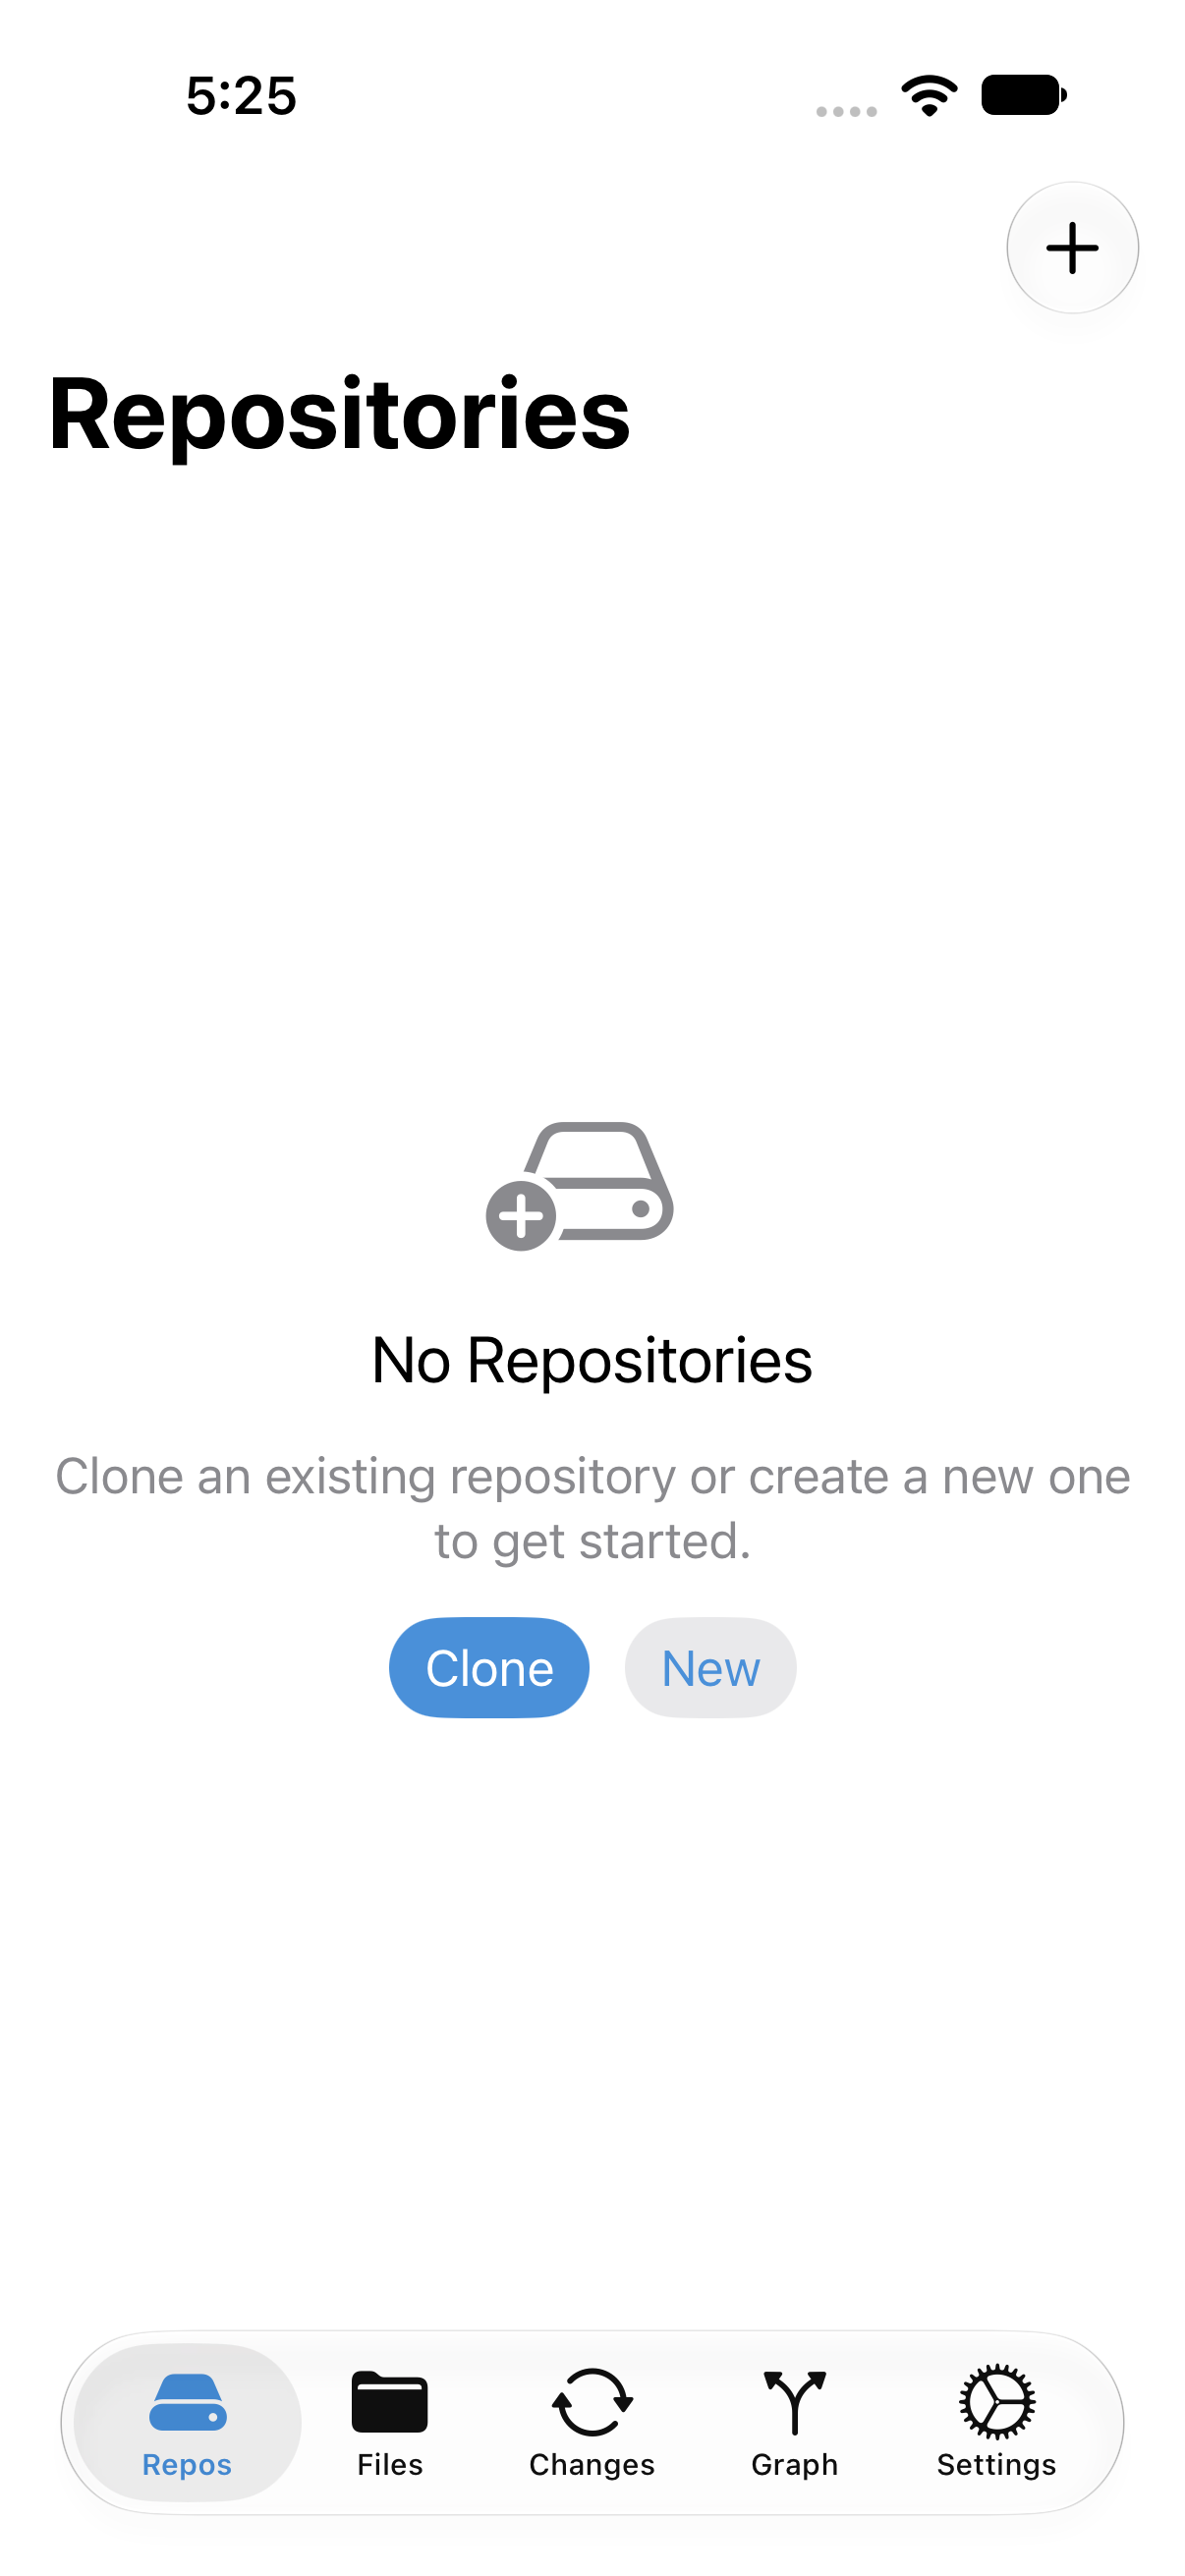
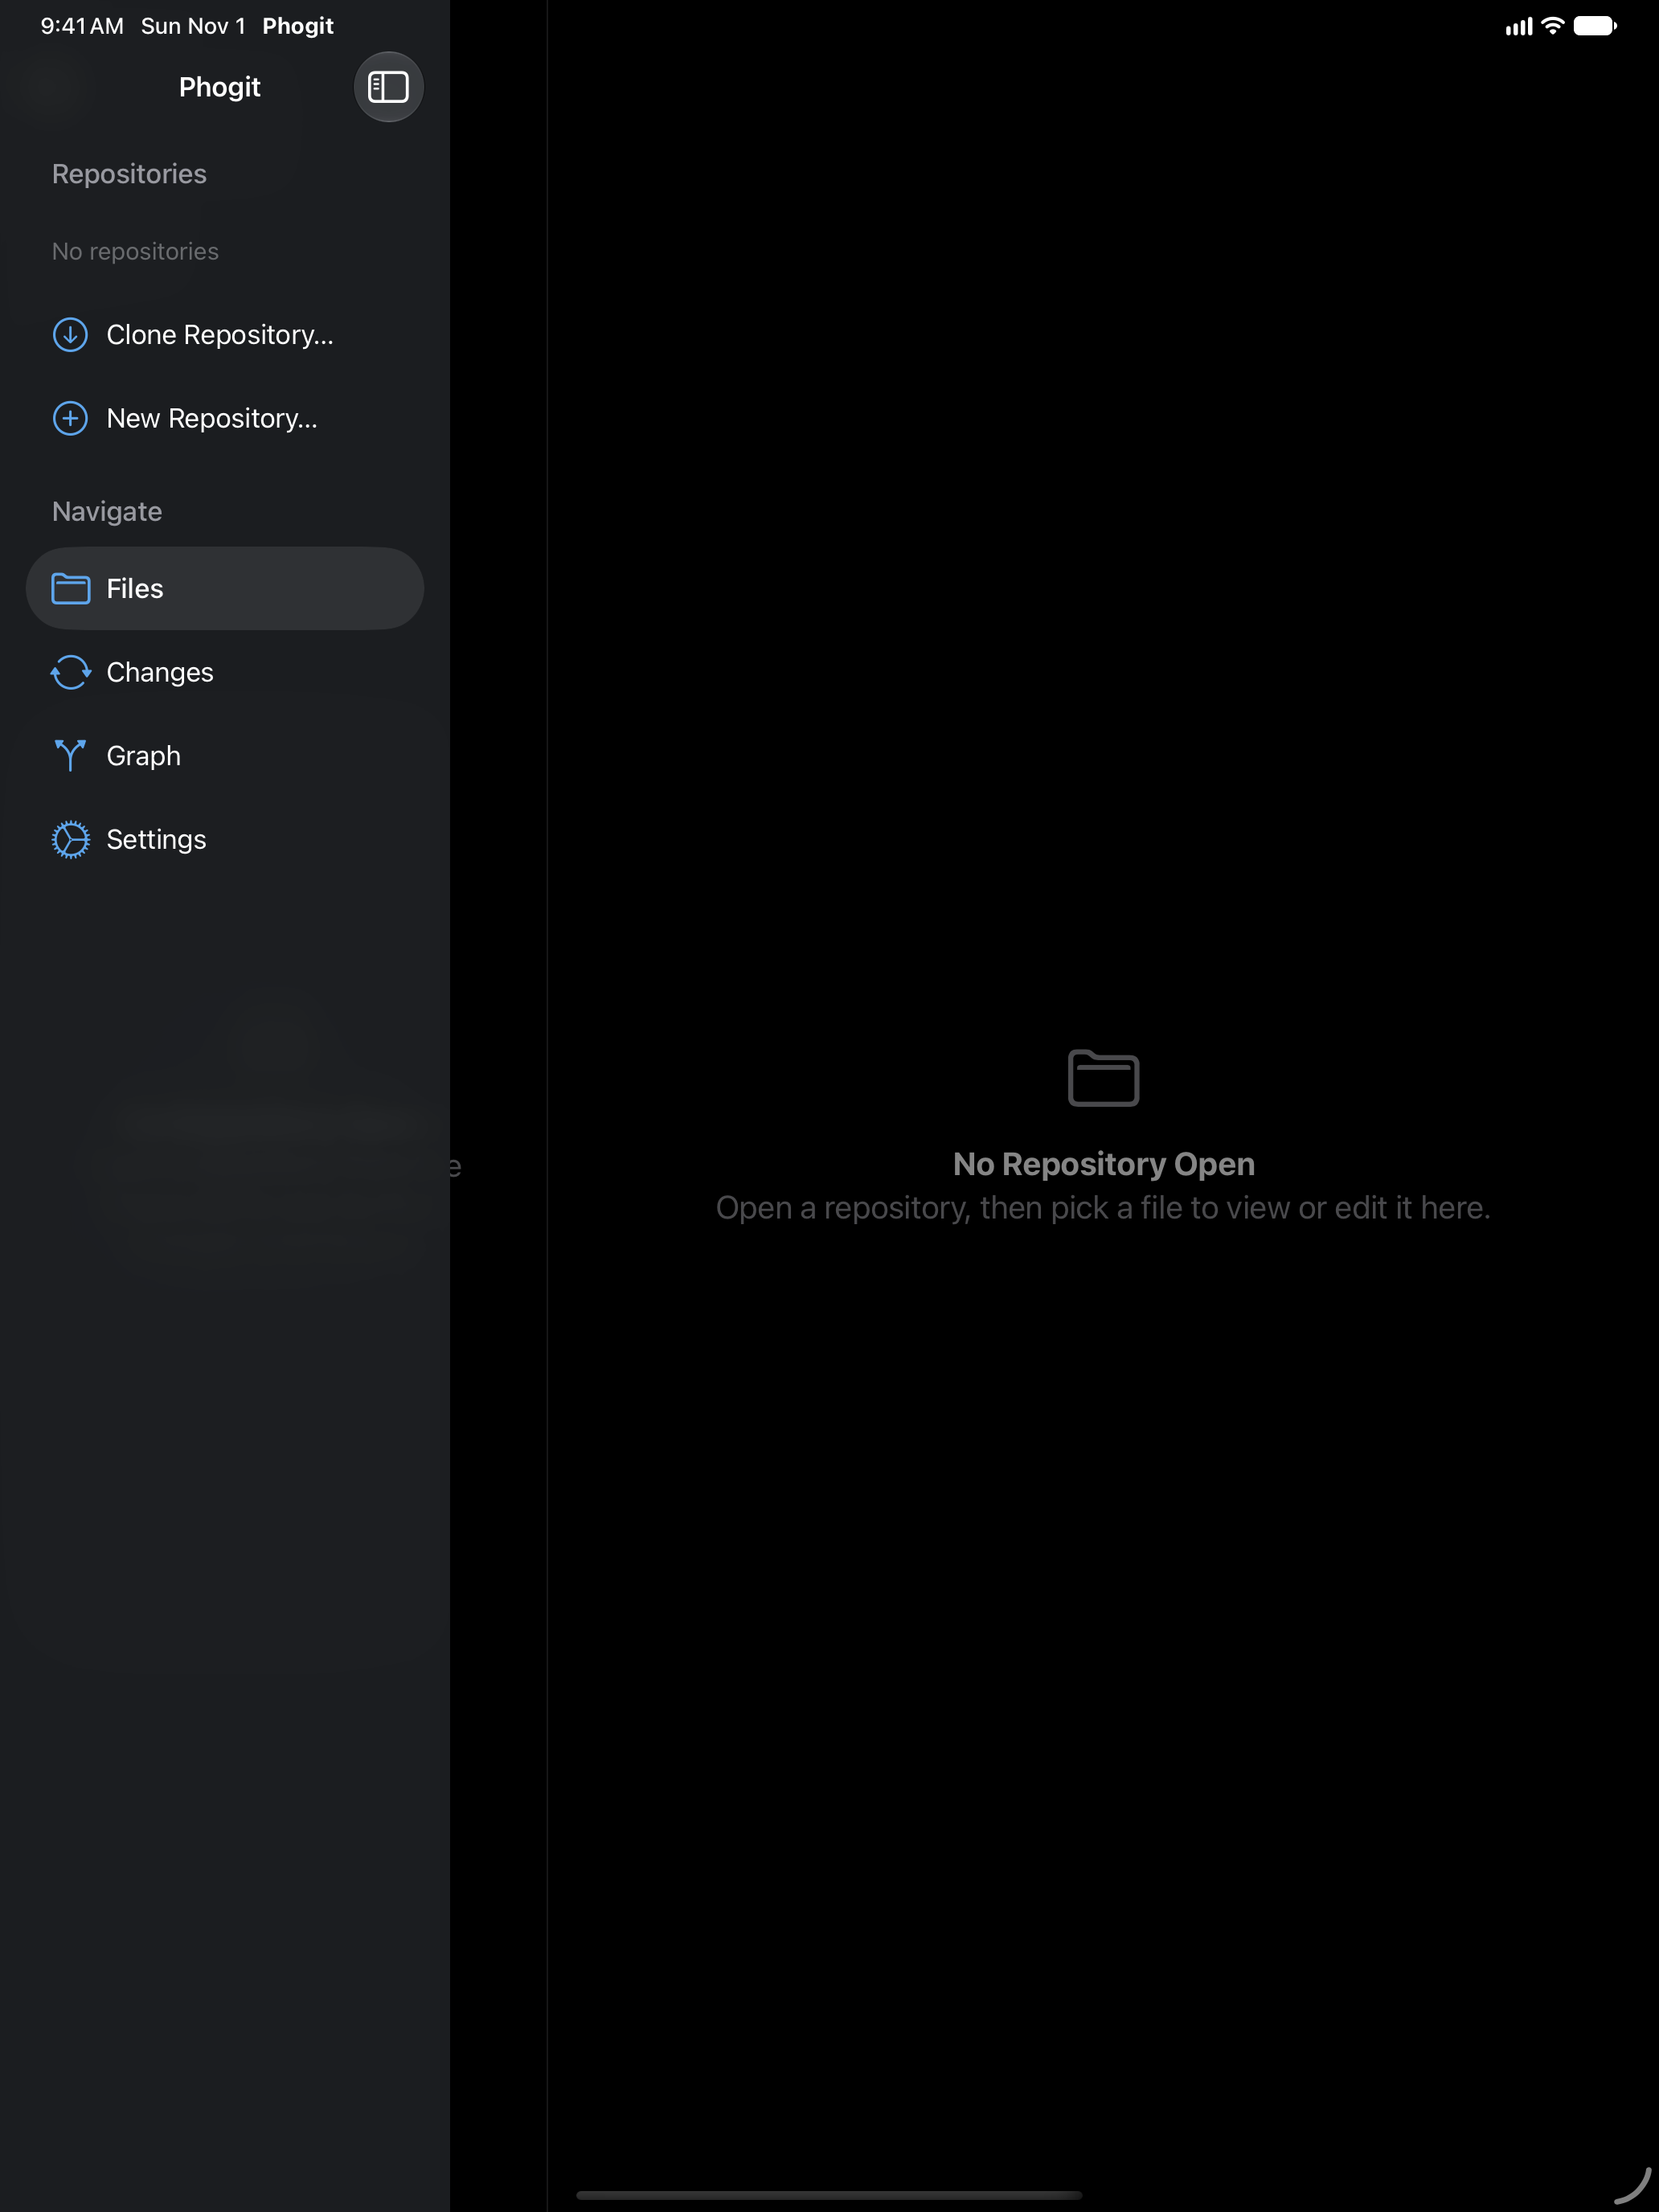
There’s no account to create. Open Phogit and you land on the Repos tab, which says No Repositories until you clone or create one. On iPad, the same list is the Repositories section of the sidebar.


1. Set your Git identity
Git records an author name and email with every commit.
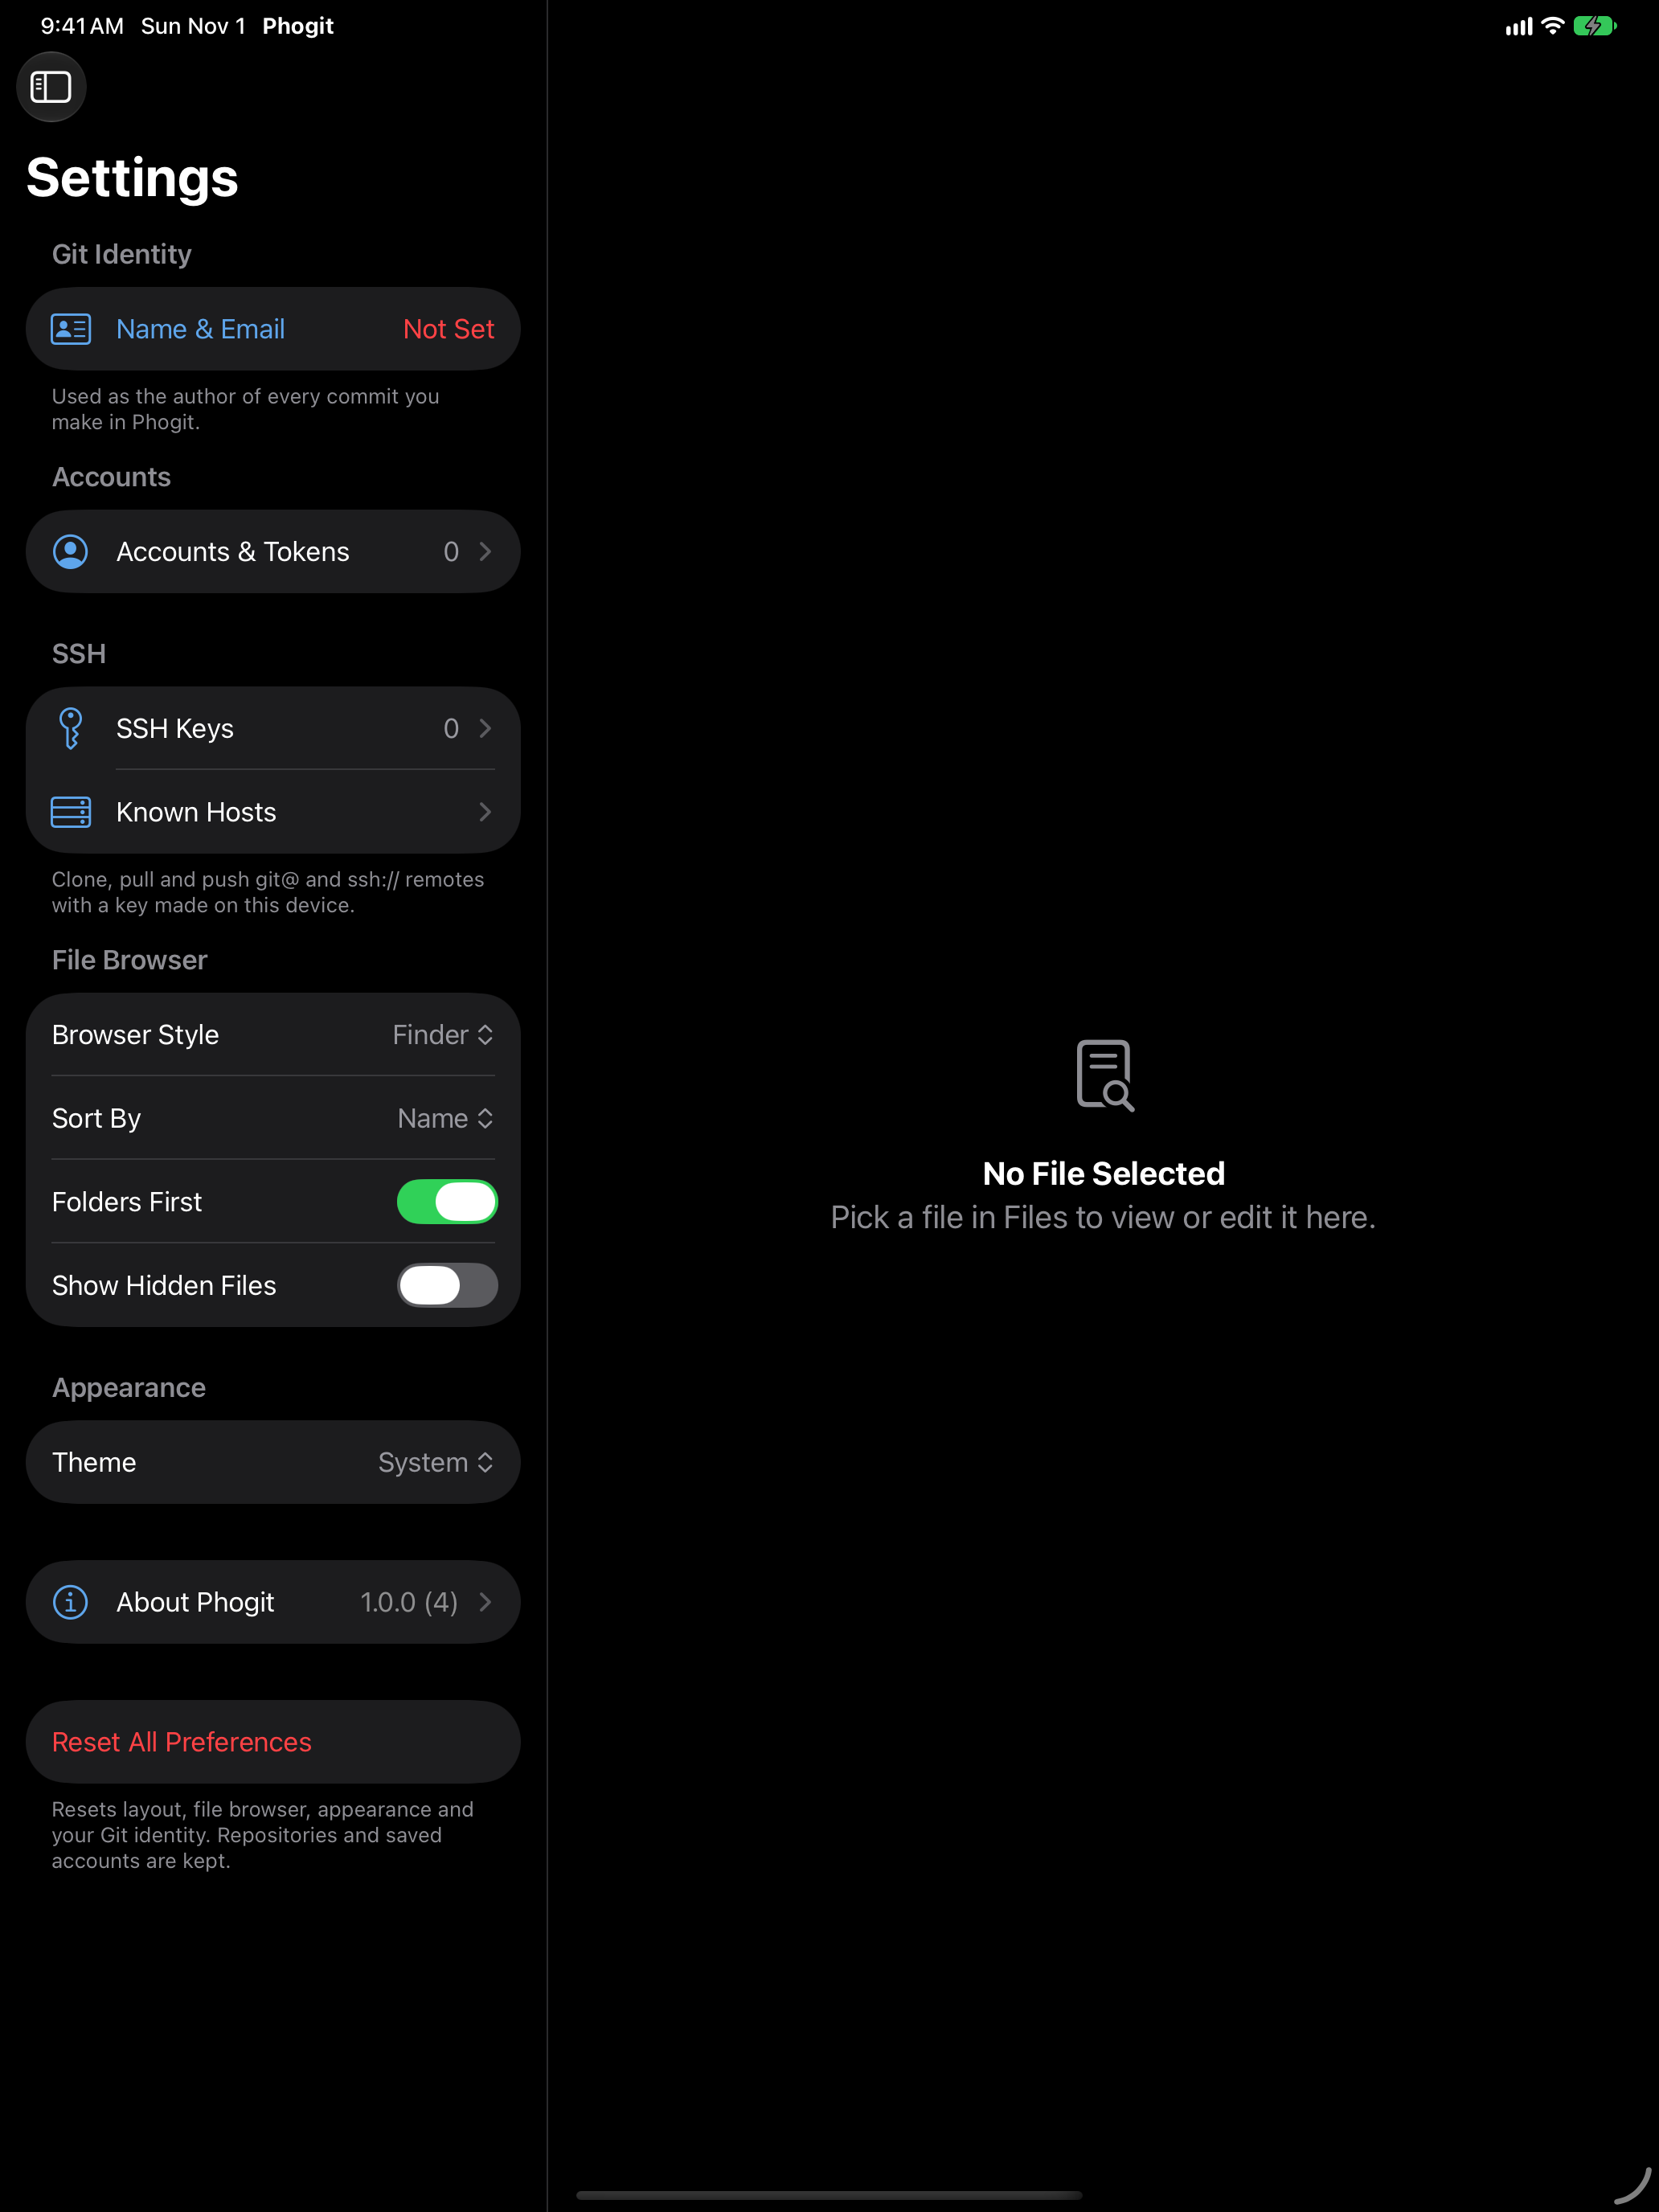
- Open the Settings tab.
- Under Git Identity, tap Name & Email. It shows Not Set until you fill it in.
- Enter your name and email, then tap Save.
Use the email address your git host knows, such as the one on your GitHub account, so the host links your commits to you. If you skip this step, Phogit asks for your name and email the first time you commit.


2. Sign in to your host
To push, or to clone a private repository, your git host needs to know who you are. If you only want to look around a public repository, skip this step for now.
Over HTTPS, Phogit signs in with a personal access token, a password you create on the host and can revoke at any time:
- Create a token on your host with read and write access to your repositories. On GitHub, that’s a fine-grained token with Contents: Read and write, or a classic token with the
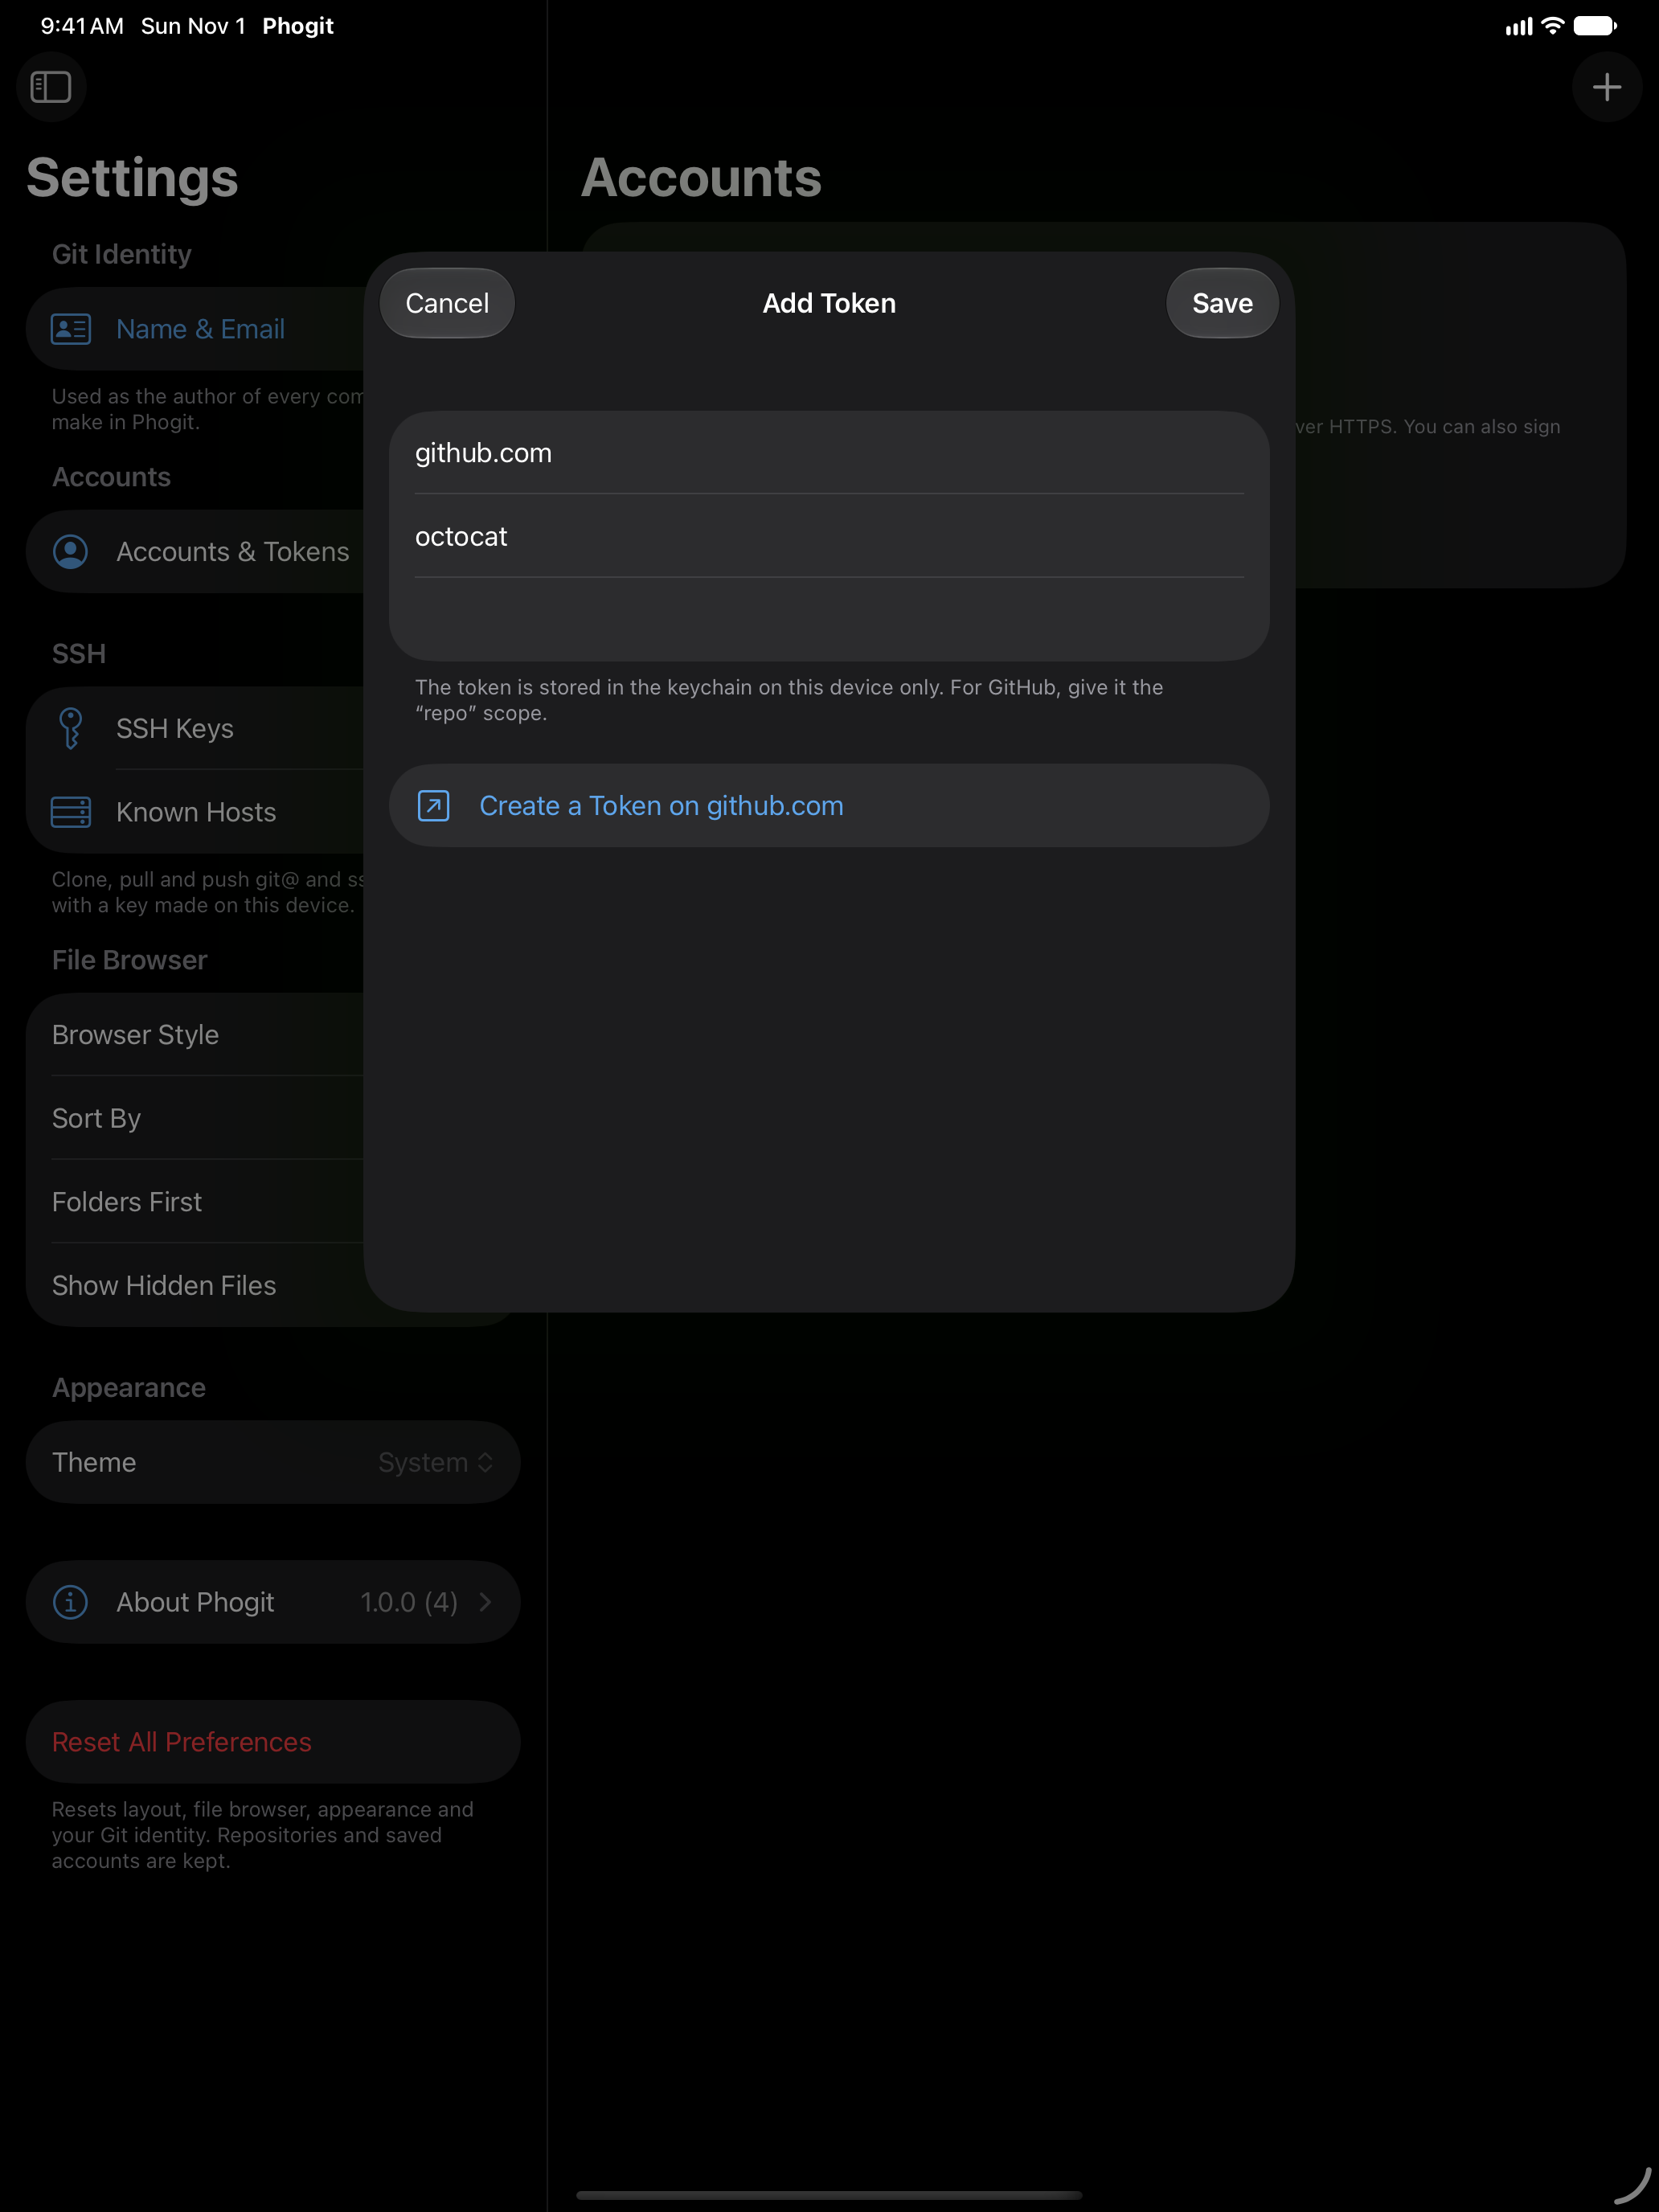
reposcope. Authentication has the steps for GitHub, GitLab, Bitbucket and other hosts. - In Phogit, open Settings › Accounts & Tokens and tap Add Token (or +).
- Enter the host (such as
github.com), your username and the token, then tap Save.


You can also wait until a server asks: Phogit then shows a Sign In sheet where you can paste the token. Either way, Phogit stores the token in the device Keychain and sends it only to that host.
SSH URLs (git@github.com:owner/repo.git) work too, once you’ve added an SSH key to your host. See SSH Keys.
3. Clone a repository
- On the Repos tab, tap + › Clone Repository. While the list is empty, the Clone button does the same. On iPad, tap Clone Repository… in the sidebar.
- Enter the repository’s HTTPS or SSH URL. To try Phogit without an account, use
https://github.com/octocat/Hello-World. You can edit and commit there, but not push. - Tap Clone.


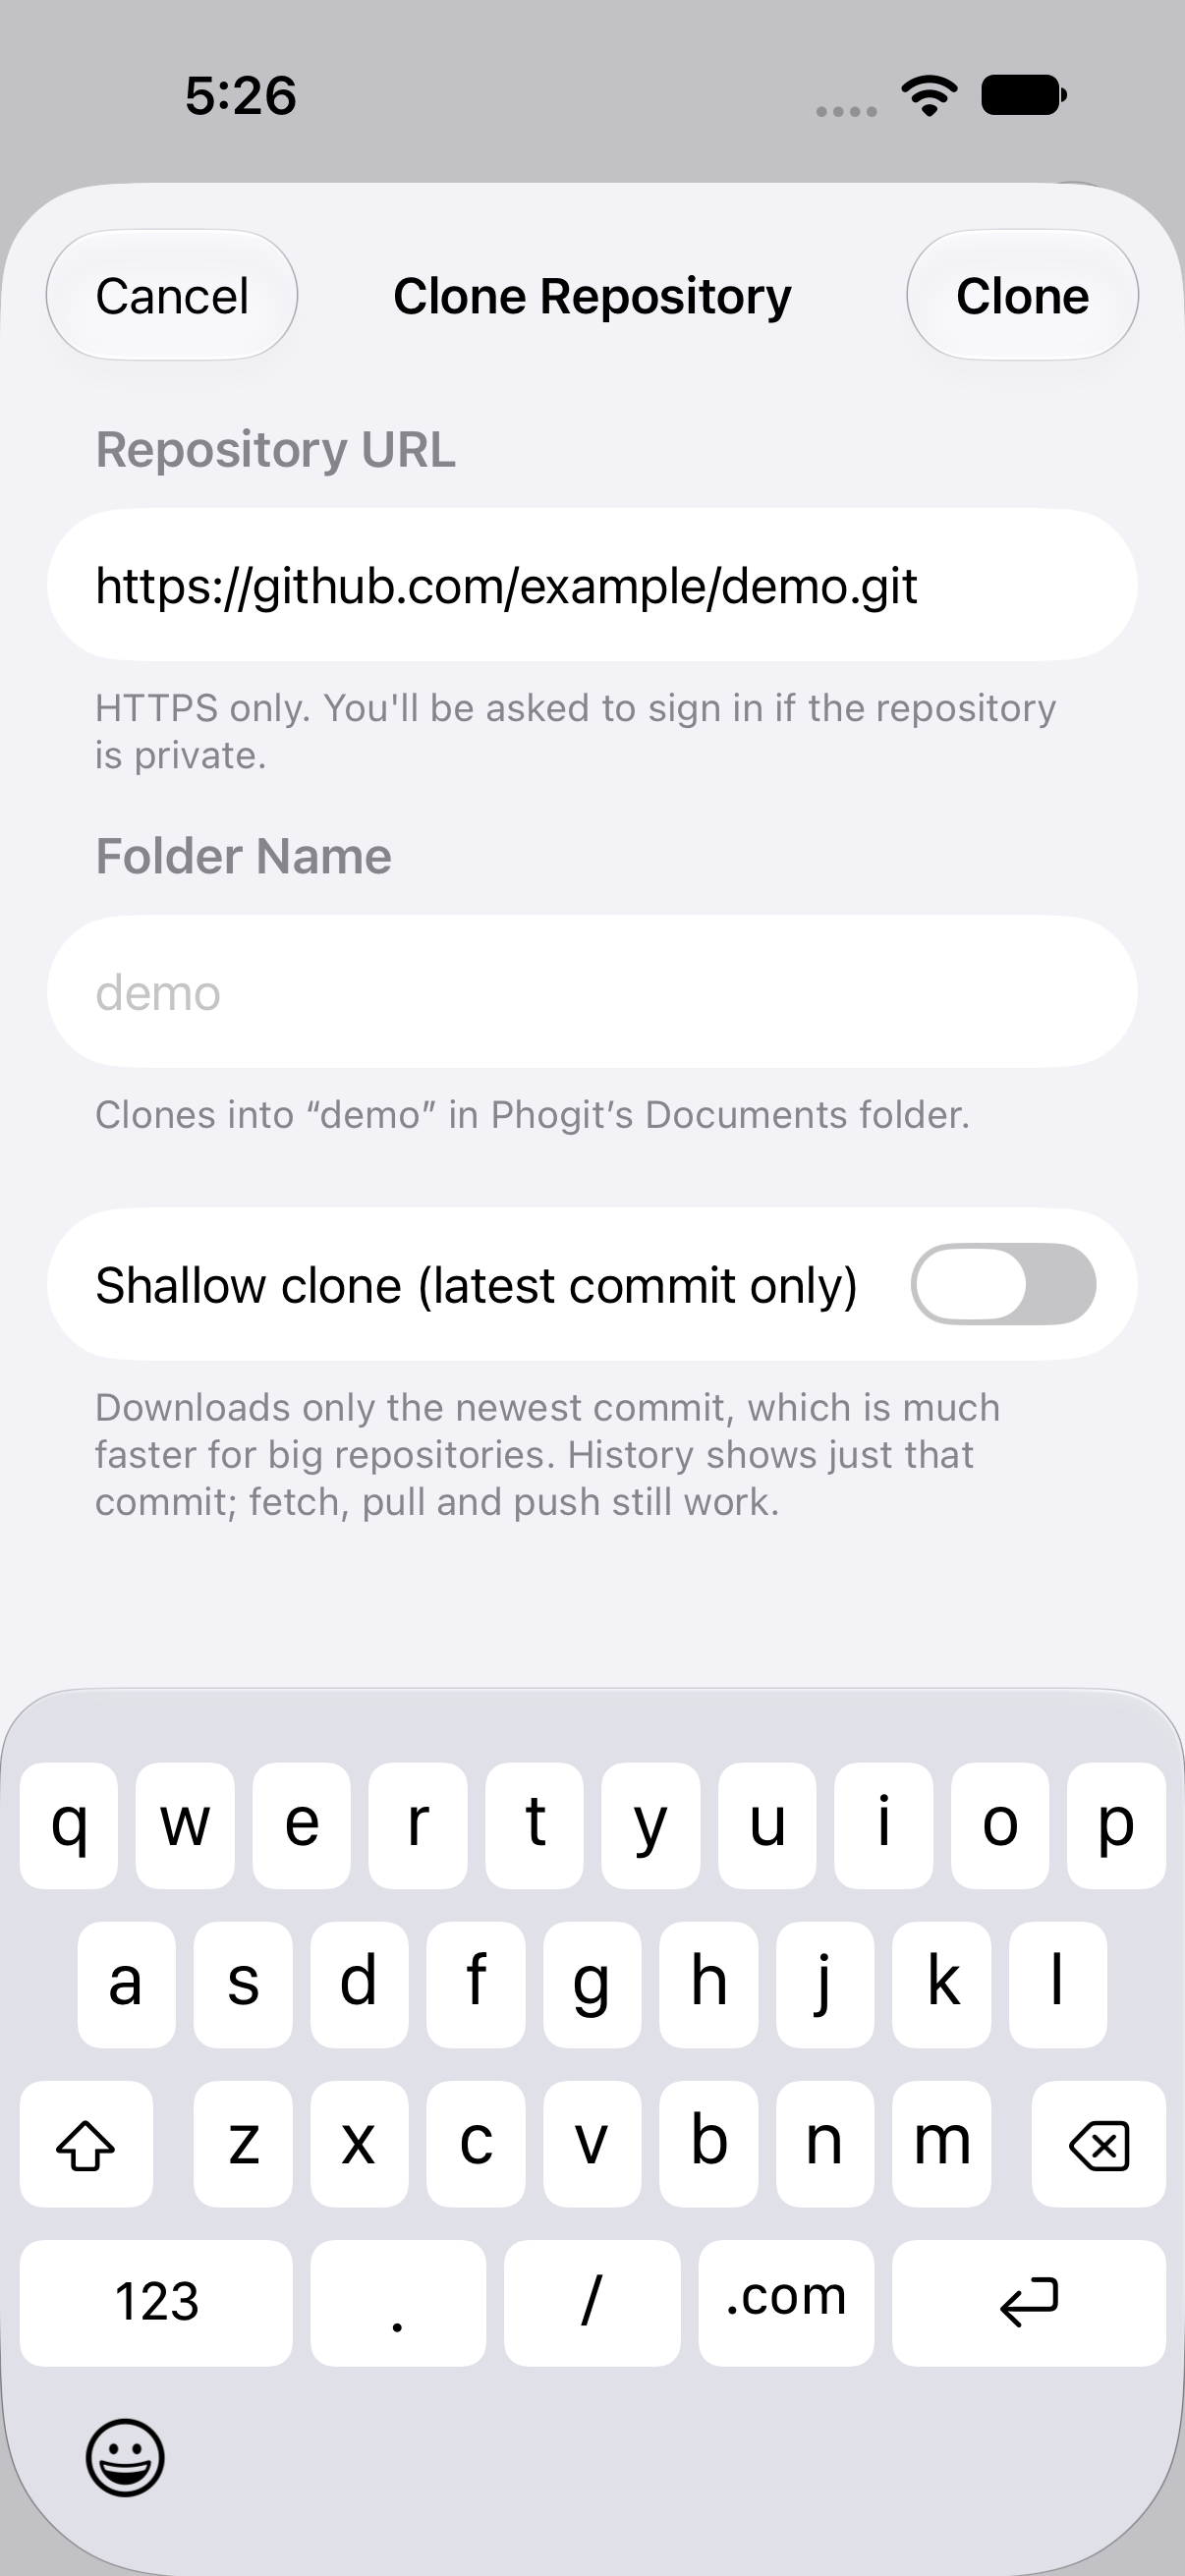
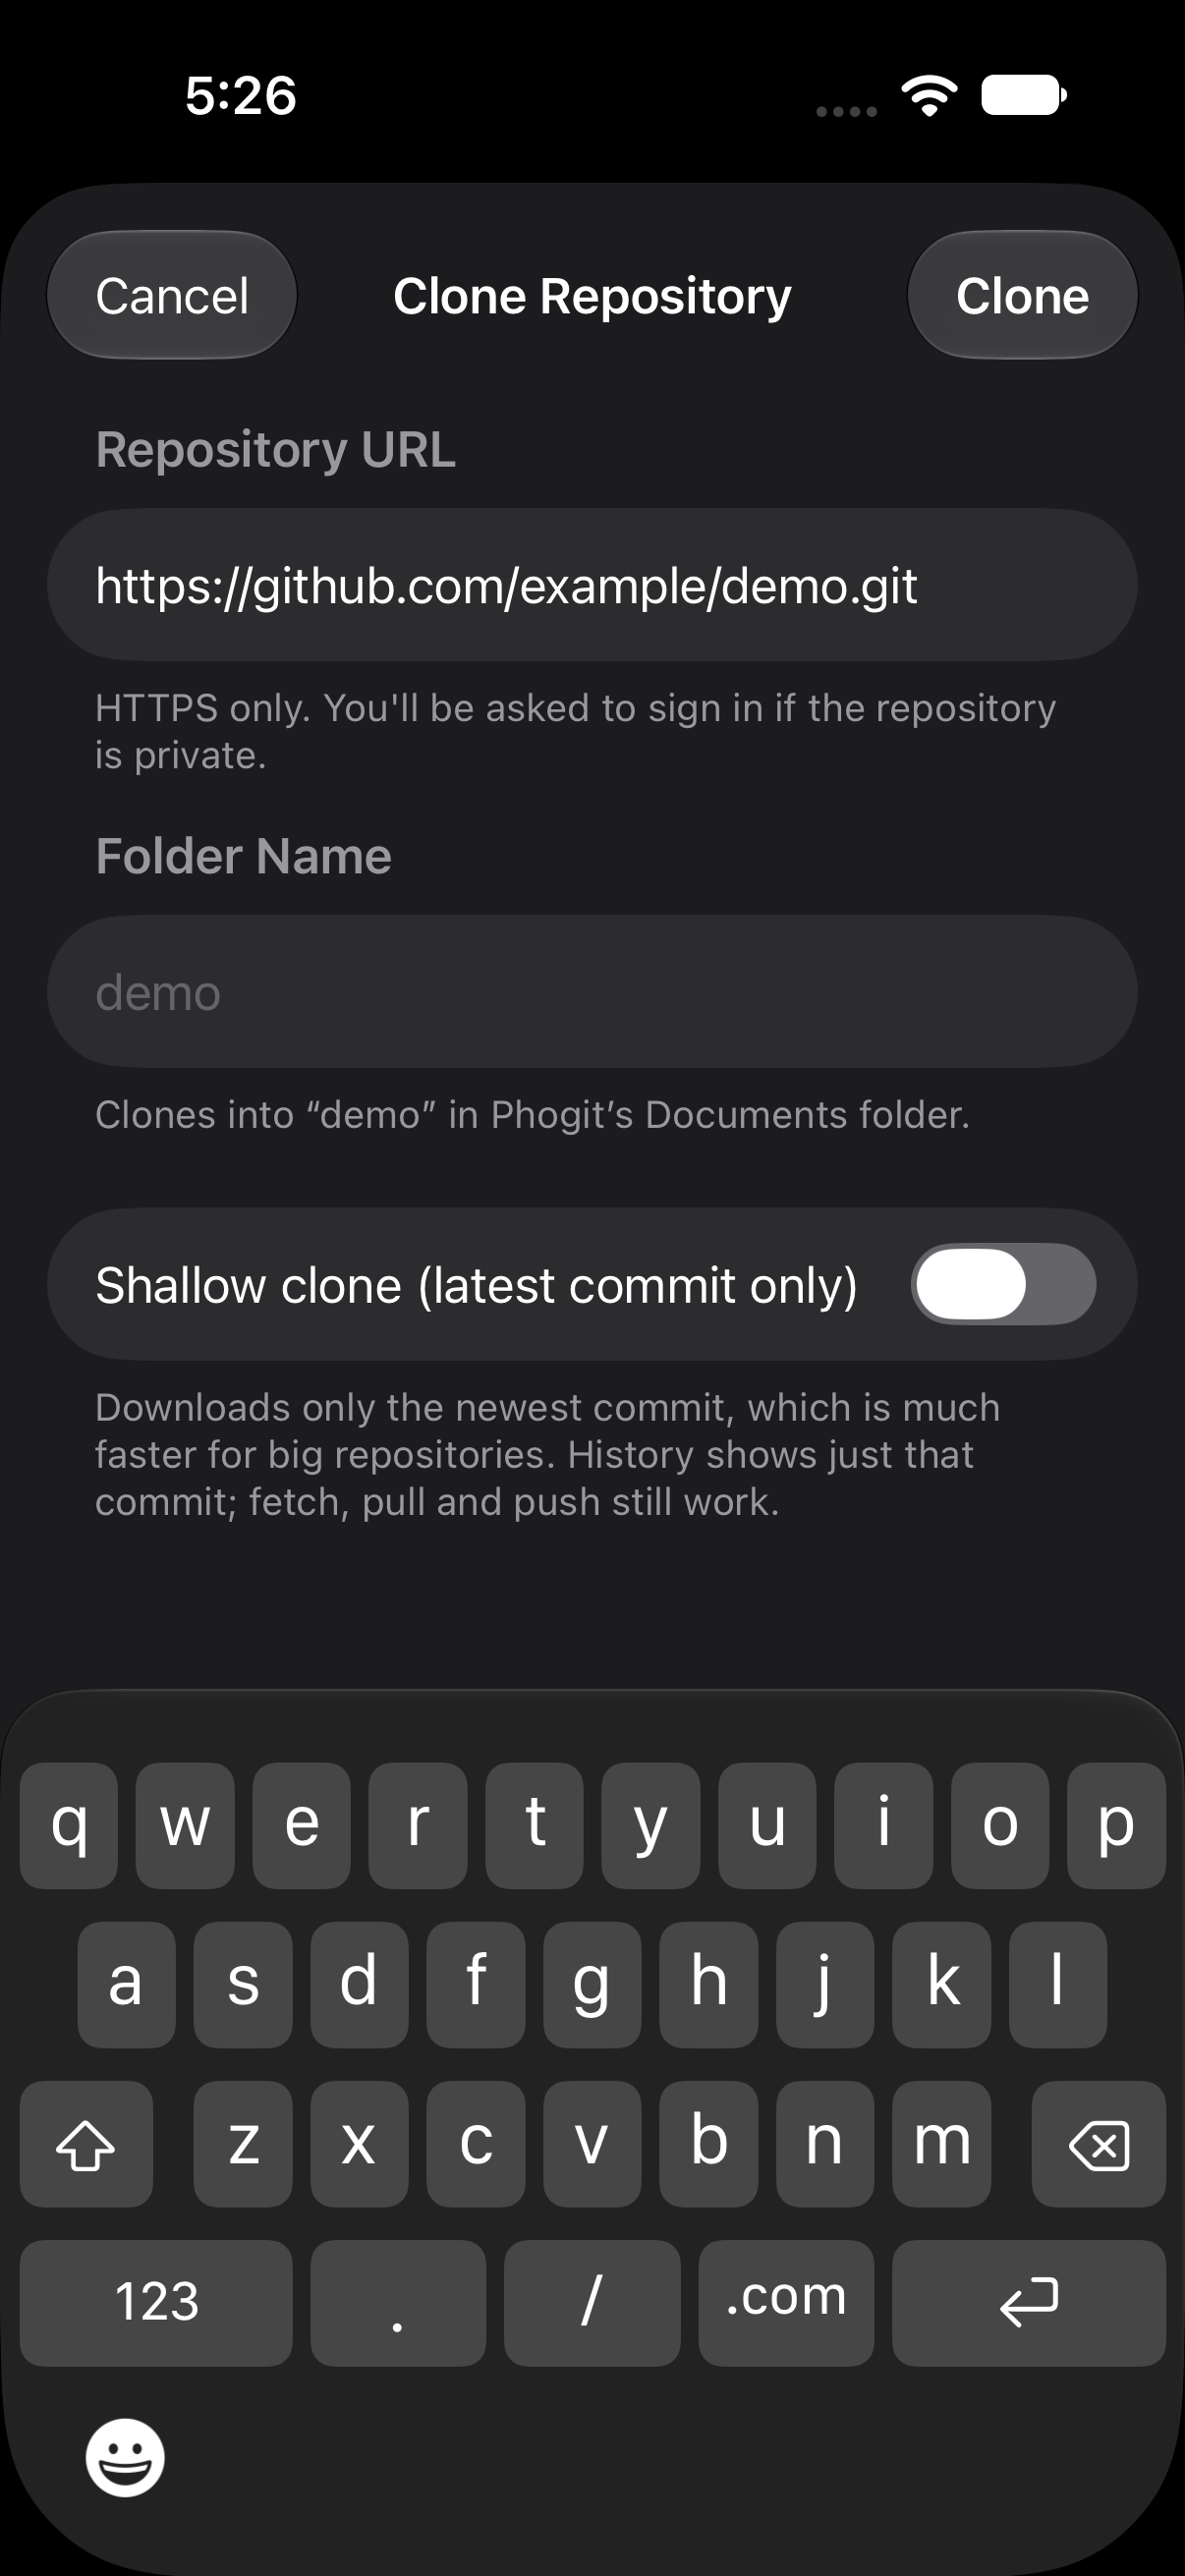


When the clone finishes, Phogit opens the repository on the Files tab. More in Repositories.
4. Edit a file
The Files tab shows the repository’s files. A file you’ve changed carries a status letter, such as M for modified, or ? for a new file that git isn’t tracking yet.
- Tap a file to open it in the editor.
- Make your change.
- Tap Save. If you forget, Phogit saves when you leave the file.

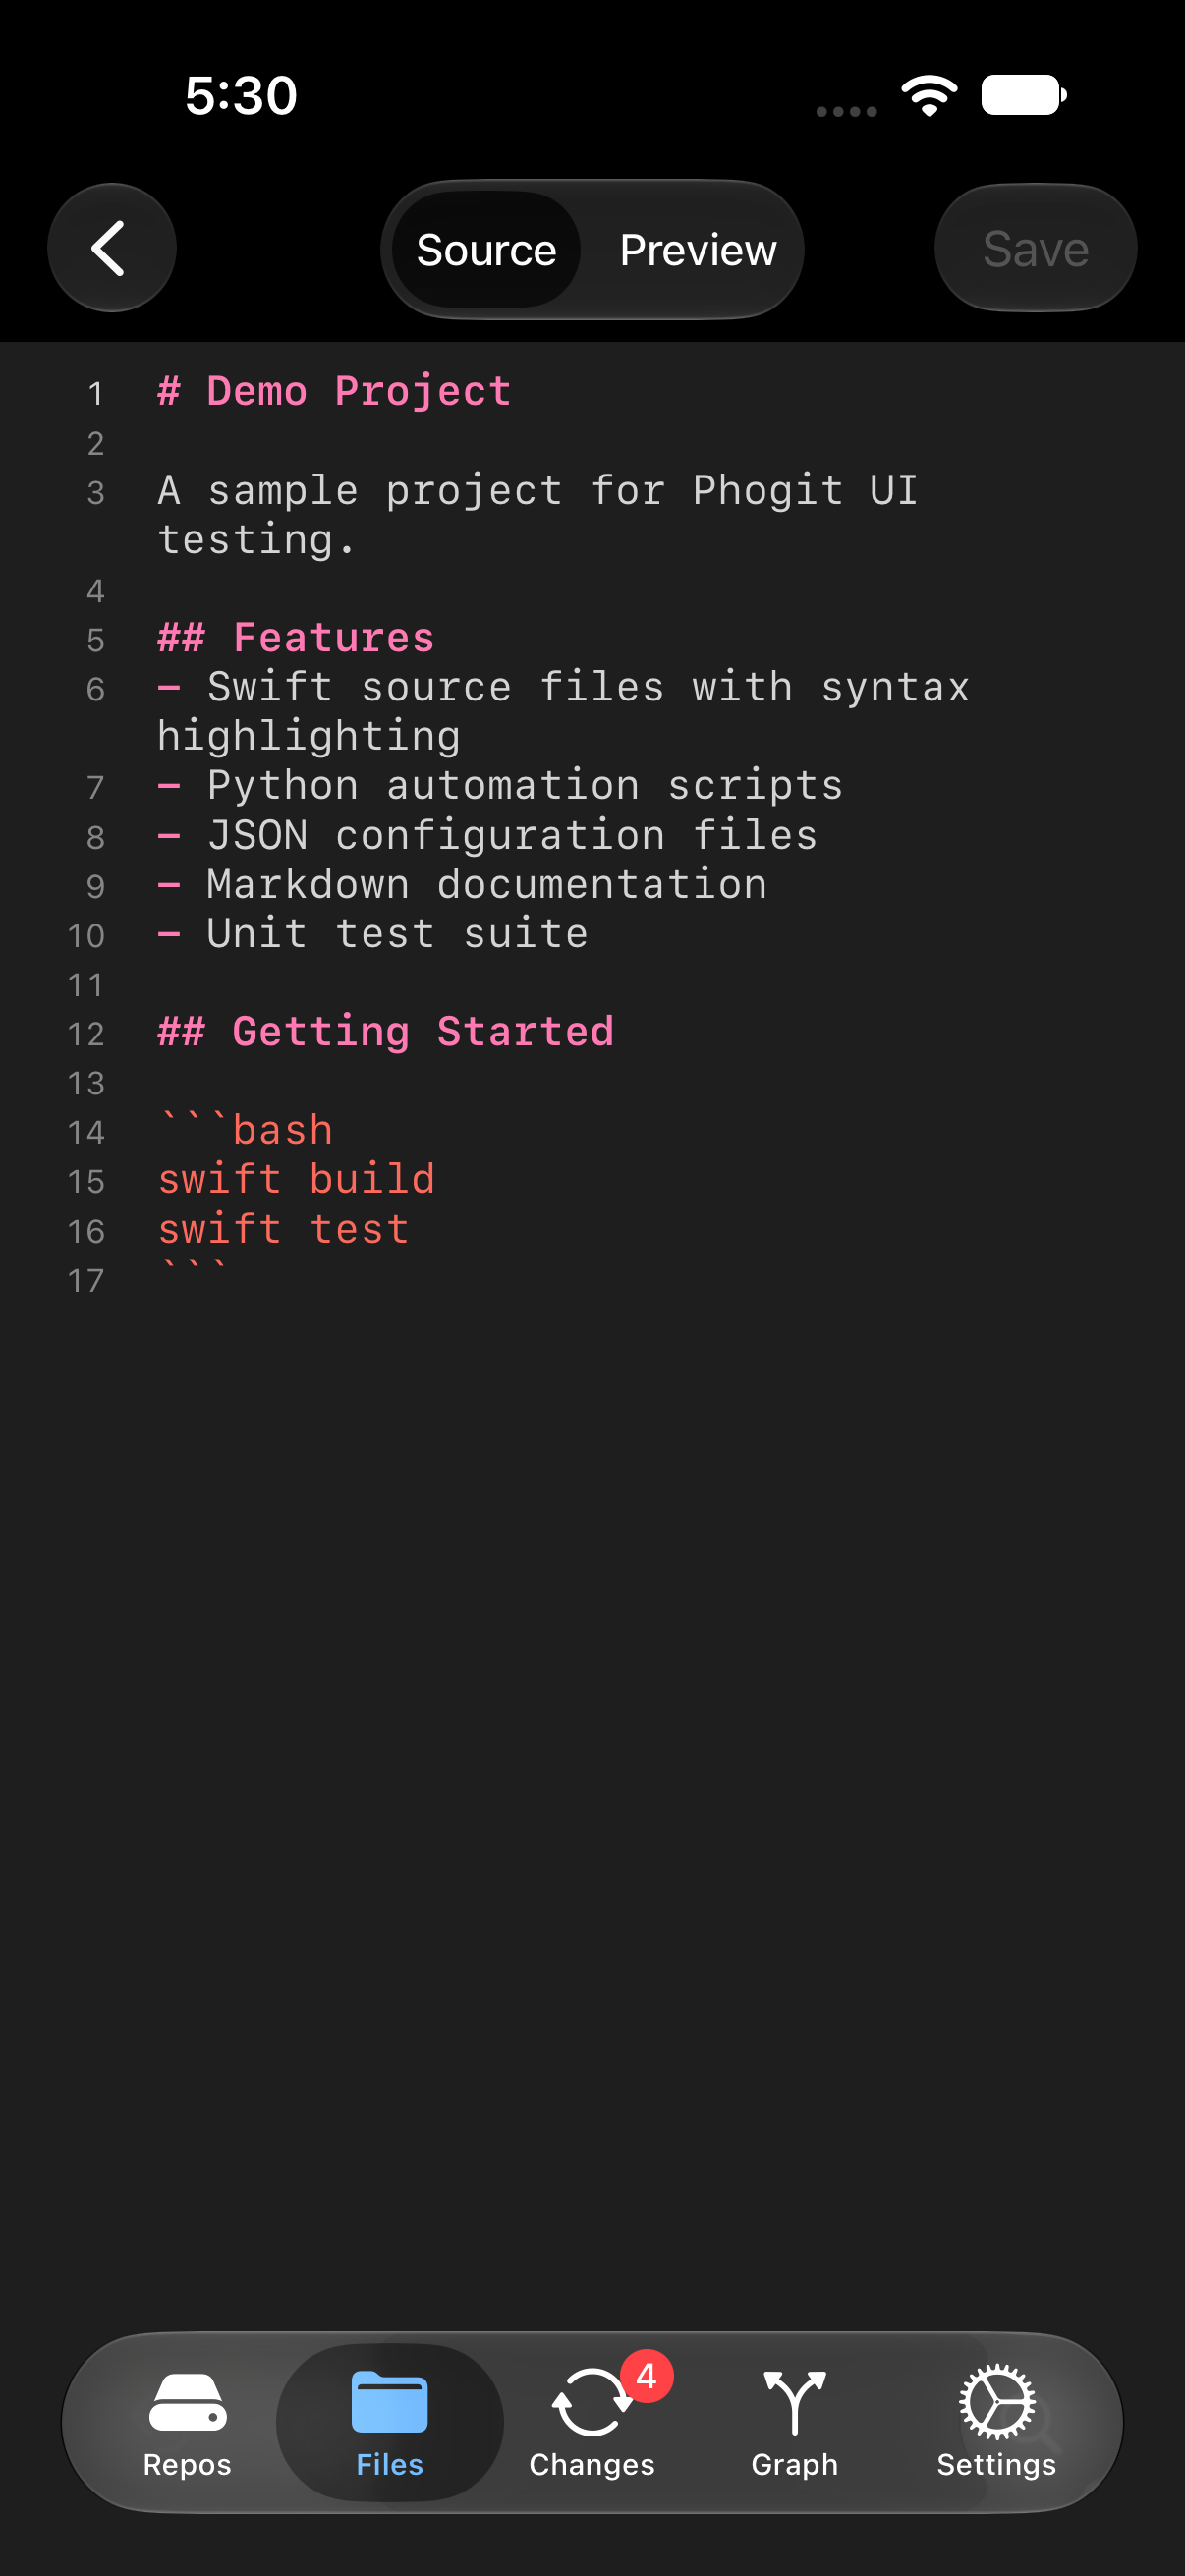

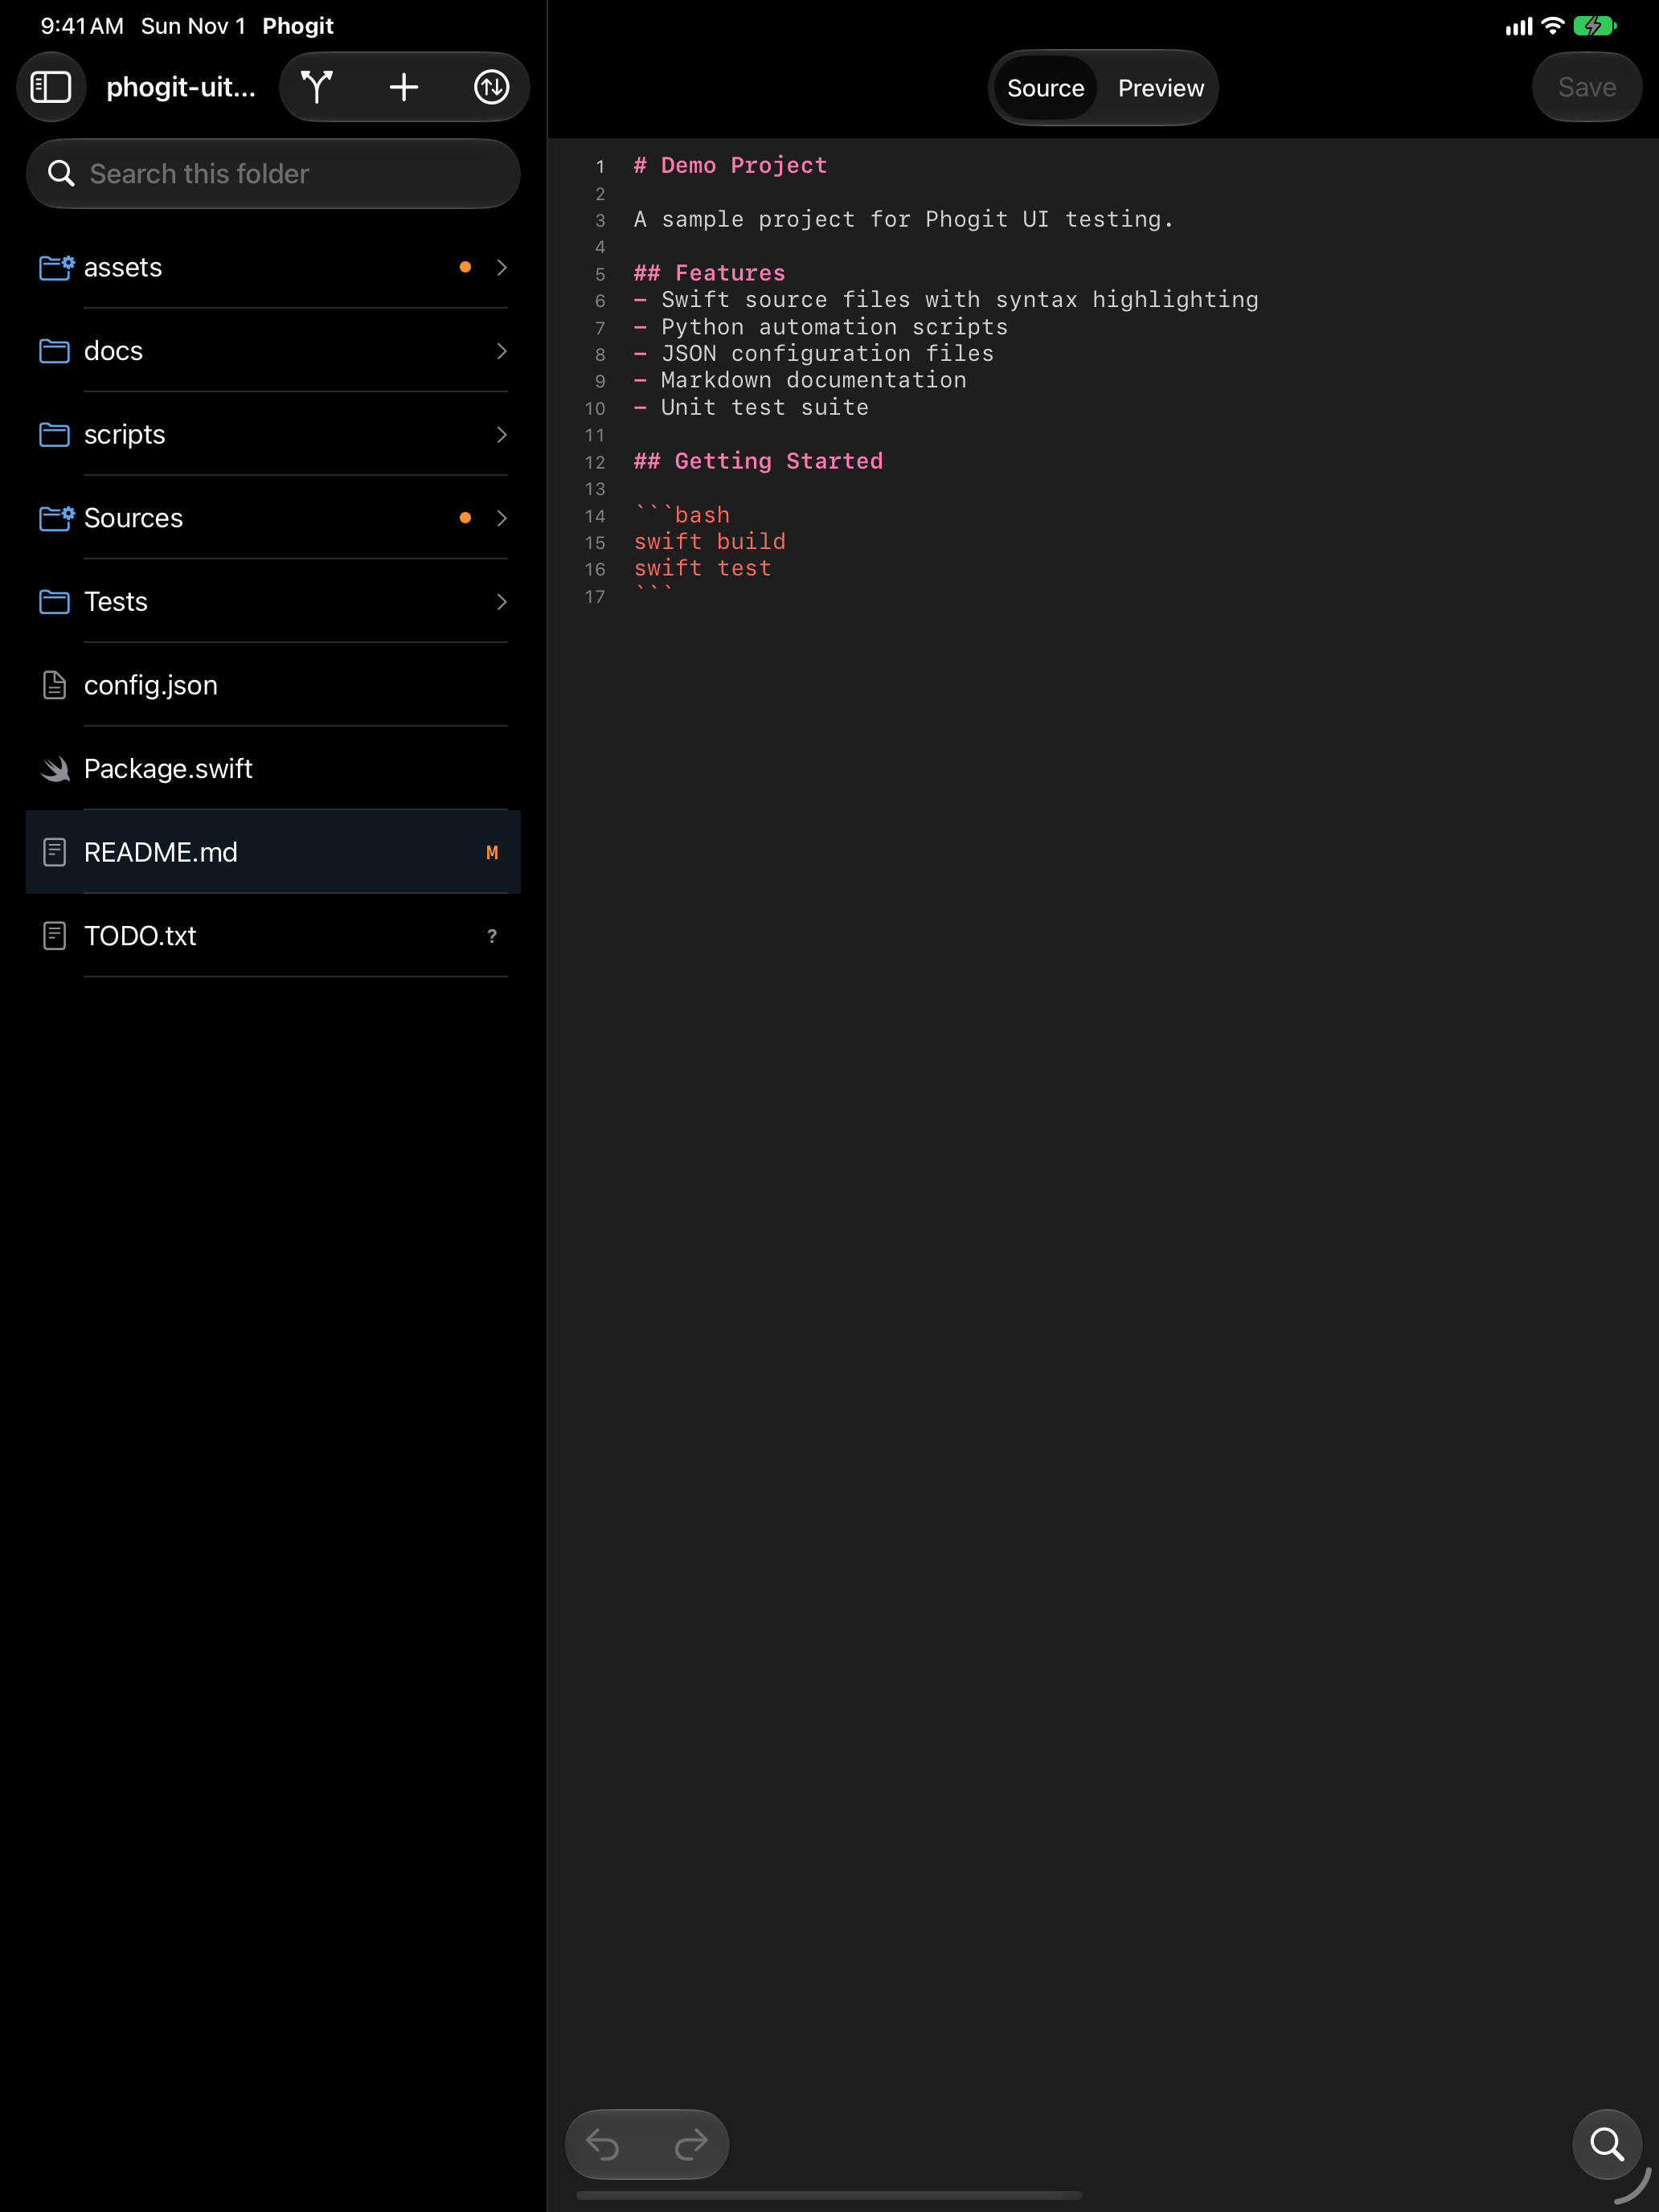
More in File Browsing and Code Editor.
5. Commit the change
- Open the Changes tab. Your file is listed under Unstaged.
- Tap the file to check its diff, then go back.
- Tap the green + next to the file to stage it, or Stage All to stage every change.
- Tap Commit (the checkmark), write a message such as “Fix typo in README”, and tap Commit.


Phogit makes the commit on your device, without using the network. To commit only part of a file, stage single hunks from its diff; see Changes & Staging. Your commit now appears in the Graph tab’s history.
6. Push and pull
- In the Files or Changes tab, tap the sync button (two arrows, up and down) and choose Push….
- Check the remote and branch, then tap Push.
To bring in other people’s commits later, choose Pull from the same menu. More in Branches & Sync.
Start a new repository instead
- On the Repos tab, tap + › New Repository (or New, while the list is empty).
- Enter a name, such as
notes, and tap Create. Phogit opens the empty repository on the Files tab. - Add a file with New File or Import from Files in the + menu, then commit it.
The new repository exists only on your device until you add a remote. To put it on GitHub or another host, see Publish a repository you created.
Find your way around
On iPhone, the tab bar along the bottom has five tabs. On iPad, the same sections sit in a sidebar; see iPad Layout.